Monday, May 6, 2013

Insulation installation


Before
After


We filled the wall cavities with 2" rigid foam insulation and filled the cracks with spray foam insulation to stop any air flow from outside.There was zero insulation behind the old drywall.

Many of the circuits needed to be rewired and boxes moved or deleted. These windows will be replaced, they are single pane leaky windows.


There is no insulation below this window because it will be replace with a door that will open onto the deck.


Kitchen w/drywall hung

It is tough to try to maintain some semblance of order during a renovation. It gets expensive to eat out all the time however, so we've tried to keep a functional kitchen throughout the process.


Thursday, April 25, 2013

Demolition Week

Demolition began in earnest on Monday. We are taking down the old sheet rock to expose the uninsulated exterior walls. As you can see from the photo the walls contain absolutely no insulation at all!

Demolition wasn't fun. We found two previous rat nest's. Not pretty.


 Kitchen demo
 Exterior wall kitchen demo. Temporary sink.

Domestic water and sanitary waste piping

Saturday, February 9, 2013

Solar


 Today the solar panels were installed on the roof. For the time being the array will consist of only two modules. They are Suniva panels manufactured locally and are some the most efficient panels on the market.
The rails are Iron Ridge and they were very easy to install.


Battery box


Thursday, January 31, 2013

Kitchen Work

 Old soffit will be removed later and upper cabinet will be 3' tall.
 Old cabinets demo'd and wall being primed.


Space where the old cabinet used to be. There were gaps behind the wall at the floor that were once open to crawl space. All gaps have been sealed with spray foam insulation.


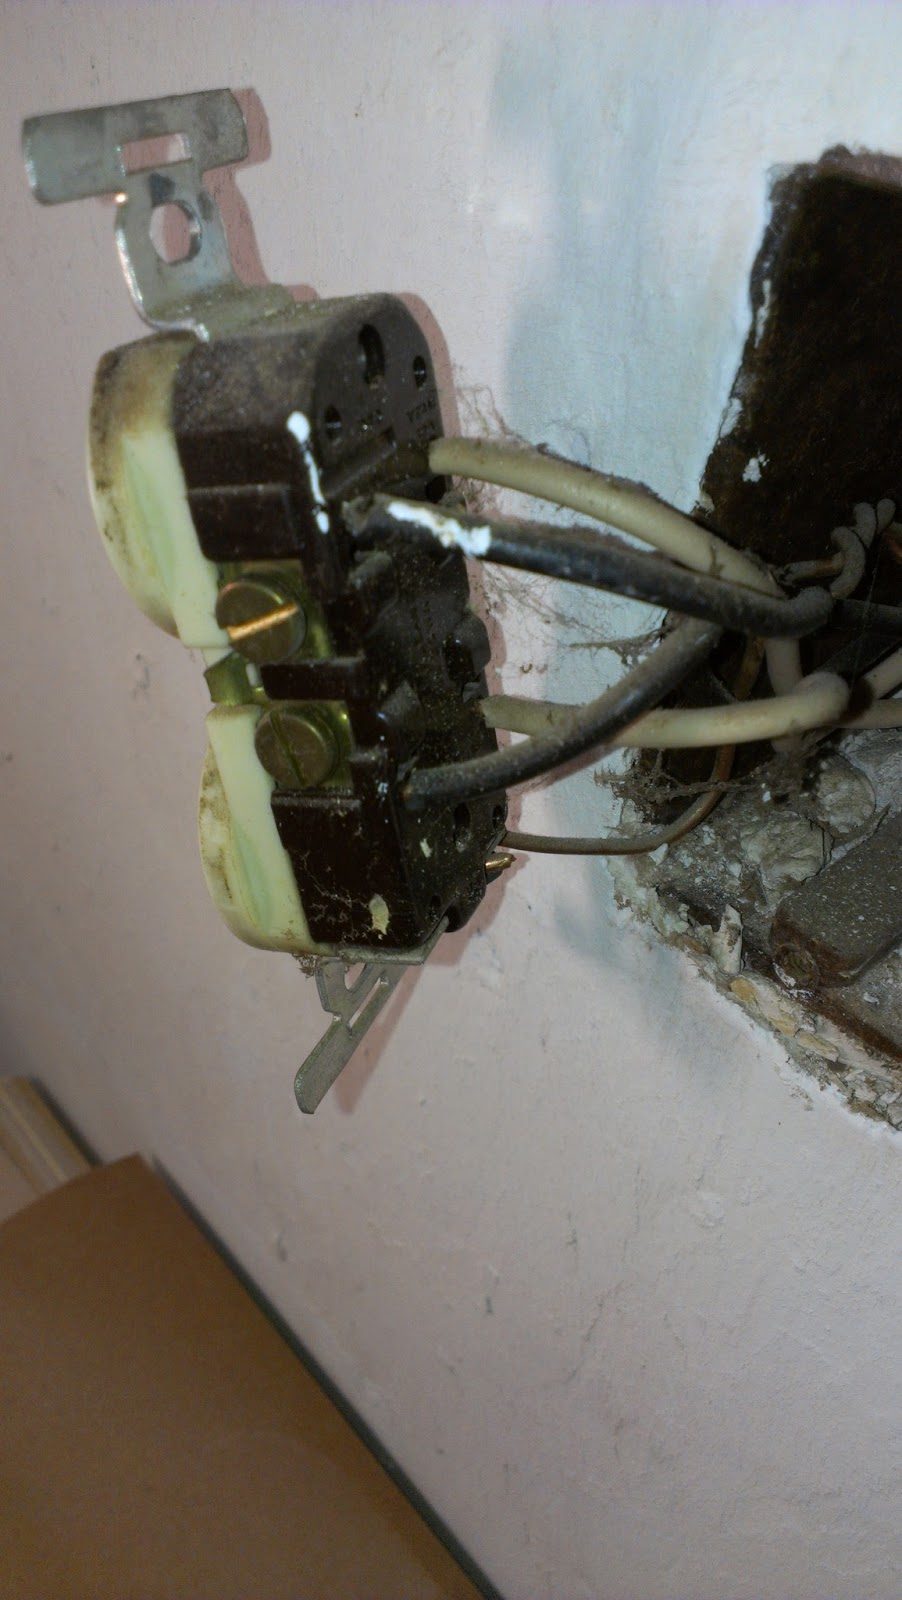
As usual even the old outlet and electrical box is nasty. The box is filled with debris. The outlet is original, so forty years old. I replaced it with a new one.

Kitchen Cabinet Update

 Cabinet installed shown without the drawer faces. I will purchase the drawer fronts from a third party.
  Custom kitchen cabinet drawers progressing.


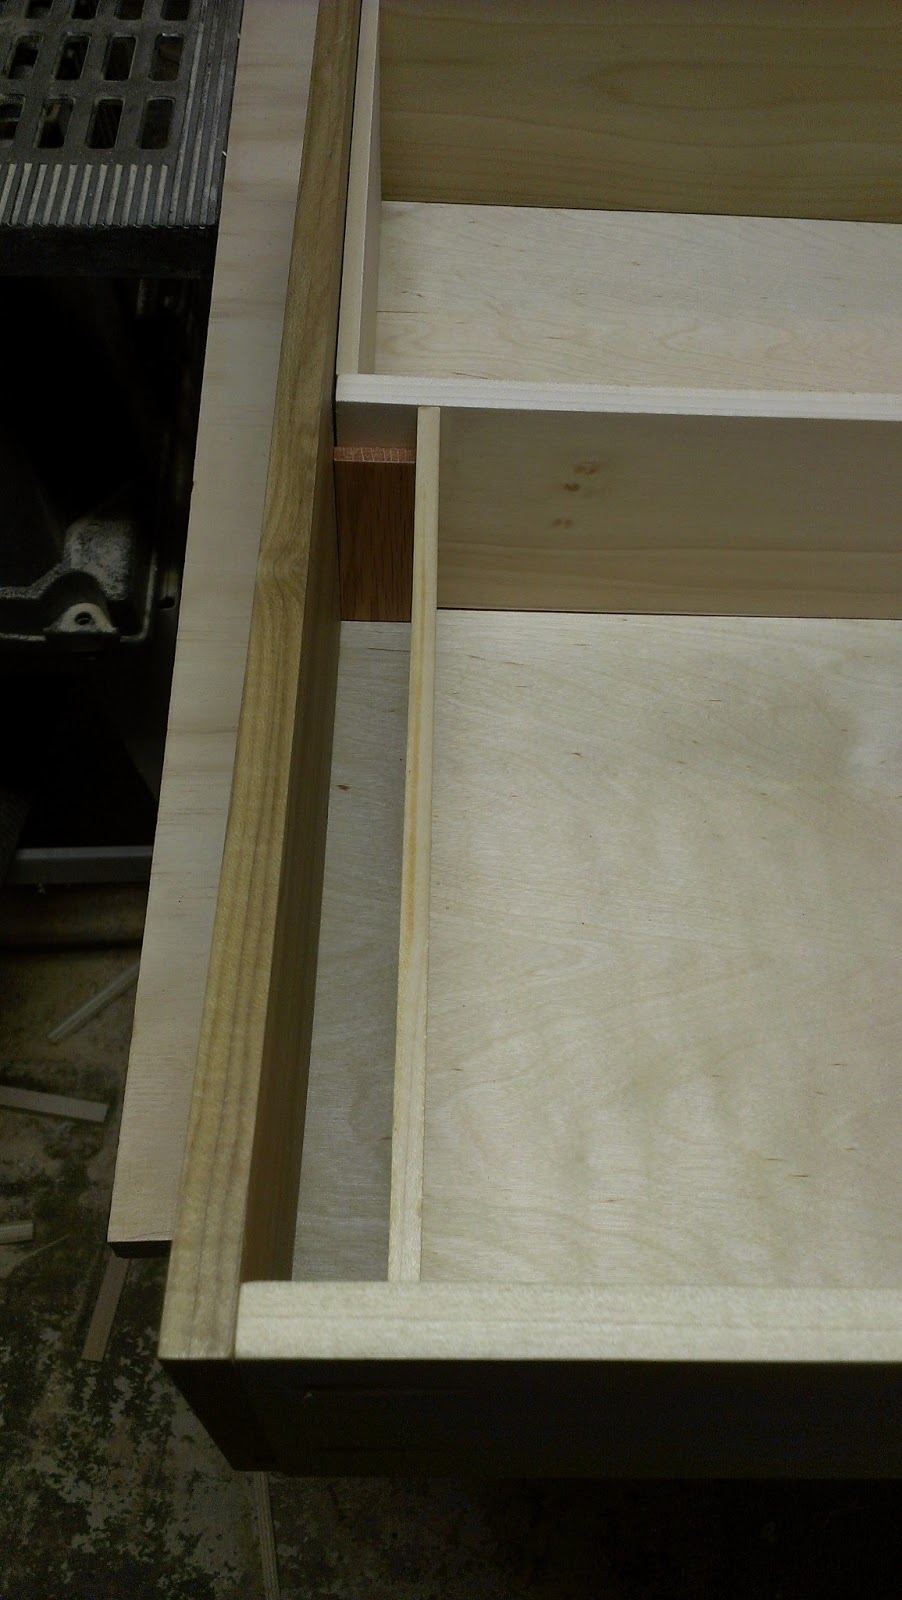
 Slots for plates going in. The spacers can be seen between the partitions.

The Blum rails are shown above.


On the left is a raw drawer with the Blum rail shown.
 Another shot of the Blum rail.
 A view of the back of the drawer.

 Closeup of the Blum components.
 Drawer shown with all the plate partitions.
Close up of the partitions.
The plates will not shift when you close the drawer because the Blumotion rails automatically close the drawer slowly no matter how
hard you push it. It's amazing actually.

Thursday, November 29, 2012

Kitchen Cabinets

 I began building the boxes for the kitchen cabinets this week.
 This is the Blum Soft Close w/Blumotion runner.
This drawer will hold plates. The Blumotion technology won't allow the drawer to slam. They always close very softly no matter how hard you push them.


Thursday, October 11, 2012

Duct Work

 There has been plenty of ongoing work at the Tucker Green house. The latest task has been to address the 67% air loss due to duct leakage, according to the energy audit.

I did inspect the ducts and other than some minor leakage here and there I was unable to find any severe leak.


The picture above is the return air duct in the stairwell to the second story. As you can see, the drywall cut out is not even close to the opening in the duct. You can barely make out the bottom of the round opening.

I cut the drywall well back to expose the entire duct and taped up the tabs to make it air tight. I will repair the drywall with the opening right over the duct this time.

The mysterious 67% duct leakage problem revealed itself on inspection of the attic. There is a chase running vertically right beside this return air duct that follows all the way to the crawlspace.

I accidentally discovered this when I shined a light down the chase and could see spray foam insulation at the bottom. At one time before the knee wall in the crawlspace was foamed, there was about a 2x4's width at the bottom of the chase that was open to the crawlspace. The foam insulation crew inadvertently sealed this gap when the foamed the knee wall. This open chasm would have shown massive airflow during the blower door test. This is where I think the 67% air loss was coming from. Besides air and moisture having a clear shot up from the crawl to the attic, anything else that could climb could have also found it's way up into the attic and in the wall. There was a rats nest in the attic behind the same wall above the kitchen.

Most of the old loose insulation in the attic was black from moisture and condensation. The dust and the dirt was awful. We have re-mediated most of the old loose insulation and vacuumed up there with a modified shopvac. The air quality is noticeably better and it's still dirty up there! It 's getting better though. We hauled out about twenty bags of old nasty insulation.

I also found a couple of gaps in the spray foam between the attic and the garage or at least my cat did. I knew if she could get into the attic space above the garage from the attic in the house we had an issue. Sure enough I found two pretty substantial holes underneath some furring strips in the attic. They were hard areas to get to. I've sealed them up with Great Stuff.


New drywall with cutout in the proper location.