Saturday, December 6, 2014

Cooking With Gas!


Samsung Gas Range
The old electric stove died right in the middle of cooking supper last Saturday night!

I could have probably fixed it but I had already paid for the new gas range the previous Wednesday.

This past week has been nightly cookouts on the deck. Not too bad of a week for it since it's been very mild lately. Nonetheless, building a charcoal fire five nights in a row gets old fast.

Ironically, I believe the house originally had a gas stove.

The new Samsung stove was a little over $700.  I probably had $60 in pipe and fittings to extend the gas into the kitchen.

We love it!


Thursday, November 13, 2014

Kitchen Update

A couple of weeks ago the new undermount kitchen sink arrived.

It's a Rohl Fireclay single compartment sink. It and the mounting brackets were about $700. Fireclay is suppose to be nearly indestructible and resists chipping like enameled cast iron does.
I can attest to the fact that it is much lighter. I was able to set the sink in place alone.

Delivery was free from Allmodern.com.

The old sink was a top mounted sink that came with the house that we had been using for the last two years.

Since the cabinet top was cut out for the old sink, I had to butcher the cabinet to mount the new sink. It doesn't matter though since it will be covered by the countertops.

Counter top installation
Speaking of which, arrived today. A few weeks ago we went to a counter place and ordered some granite countertops, finally. I'm not going to mention the business because I'm not happy with their customer relations. Actually, I didn't even go to the place that I had meant to go to because I read the map wrong (but that's another issue).

Anyway, the installers finally showed up this afternoon as the weather was turning wretchedly cold and windy. In about an hour they had the tops installed and polished. I can't say that I'm over the moon with the install. I've seen some discolorations that I'm not happy about.

They use a very acrid epoxy to join the seams with and it gave me a headache and stunk up the house for a long while.

It is nice to have some counters finally and we are happy about that.

The granite plus installation was about $1200.

The new kitchen faucet is a Grohe Concetto, which is a German mfg. but the product is made in Canada.

The faucet was about $300.

It's very nice quality and has a retractable spray head in the nozzle.

We opted to go with the deepest sink we could find which is 10".

I use a lot of big pots and pans and a two compartment sink is a real hindrance when trying to wash them out.  Hopefully this large sink will meet our needs a little better than the old sink.

Next up...tiling the backsplash. Whoopee!


Monday, October 20, 2014

Fence Addition


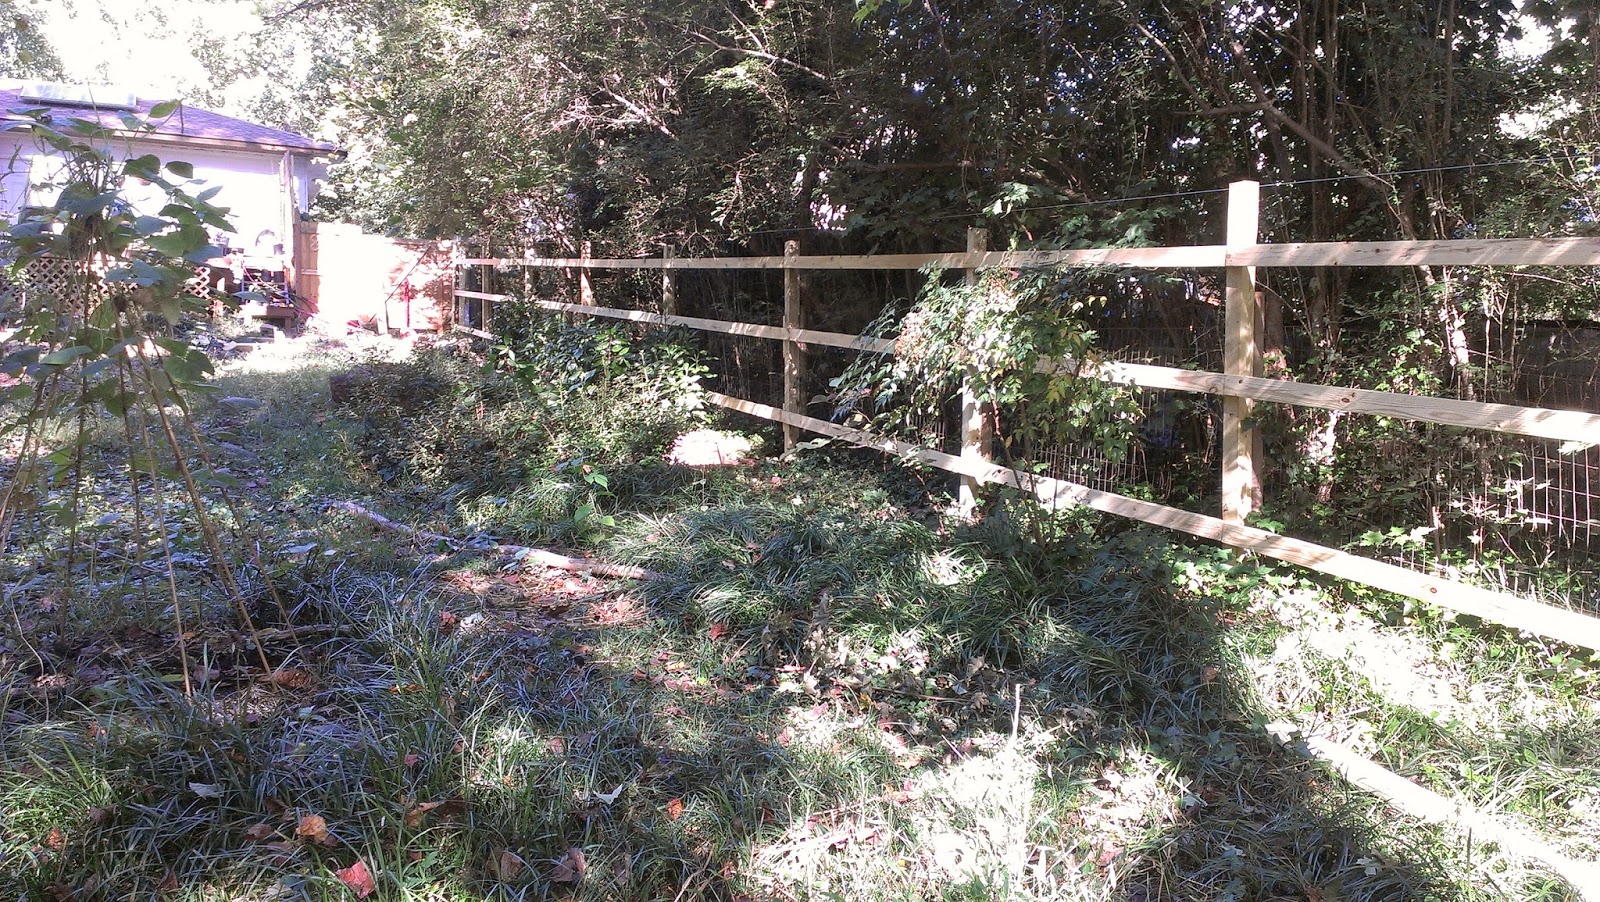
I began working on the side fence last week. My neighbor suggested it after seeing the first one I built in the back. We're splitting the materials.

There was already a wire fence between the two yards that has been there for a while. I decided to bolt the new posts against the existing ones to avoid extra digging.

Cost of materials $800.


Wednesday, October 8, 2014

Hi Efficiency Washing Machine

Over the weekend the State of Georgia had a sales tax holiday on energy star appliances so we decided to take advantage of it.

The LG brand gets high marks for their machines so we decided to go with them. I bought this one at Home Depot nearby and they delivered it and took the old one for free.

This machine is virtually silent! It saves on water and electricity.

Georgia Power has a rebate program for washing machines for $25.

The washer was $699 less a 10% discount and no tax so out of the store it was $625.

With the $25 rebate it will be $600 even.

Wednesday, September 24, 2014

Bathroom


 Finally the light fixture arrived! Besides one or two other additional things that aren't fixtures we are basically finished with the bathroom renovation.

The final cost was around $3500, less labor of course.

A little bit of touchup work needs to be done but it's minor. We'll probably just leave it as is for a guest bath and not a master bath.

It's not perfect but I'm glad to be done with it. The tile is probably the weakest link. I learned a lot about it by doing it, so the next tile job will be better.


bye bye 1971!

Wednesday, August 27, 2014

Bamboo Ceiling

Underlayment on ceiling
The old ceiling in the bathroom was stippled with a "crow's foot" pattern which looked like crap.

Without tearing out the ceiling, which I did not want to do, the only obvious choice was to cover it up. It's only 40 square feet so it isn't that big of a job so we decided to use bamboo flooring.

The first step is to install an underlayment over the stippled ceiling first to level it out. This is just a thin foam pad that is stapled in place. Cheap and simple fix.
The bamboo flooring is tongue and groove so it goes together fairly easy. The bamboo is pretty forgiving and not hard to work.


It was kind of an afterthought because it would have been easier to install it first, but it worked out okay and it looks very cool!

Saturday, August 16, 2014

Grilles

The grilles for the vents in the floor finally arrived this week.

It took a long time to find a mfg. that could accommodate us. After a very long search I found Advanced Arch Grilles online and they have a terrific product.

It might not seem like much but having the grilles finally is huge.

For over a year I've had just store bought wooden grilles laying over the holes where the supply and returns are at just to keep stuff from falling down into them.  The problem with grilles is that they are generally sized to just a few standard sizes. The openings in the floor were not standard at all lengthwise. The width was.

Both of the returns are 37" long. It's a detail that most people won't even notice but what you will notice is a cheap looking faux wood grill lying on top of the floor. There are some ornamental grilles out there that are cheap as well that are slightly more appealing however they only come in standard sizes.

Advanced Arch Grilles were easy to work with. The online order was followed up with a callback soon afterward. With forty percent down payment they start the order. Their cad department sent me a drawing of the grilles and I was able to review and sign off on it before it went to the fab shop. They turned around the grilles in about three weeks.

Custom grilles - $575.


Monday, August 4, 2014

Bath Fixtures


Allmodern.com is a cool site that has tons of manufacturers from Europe that might not ordinarily come to mind when searching for fixtures. They typically offer free shipping on most of their items.

New wall mounted sink by Cermica Tecla about $300.


New one piece TOTO water closet from Noland, $550. Super quiet!


Noland is a showroom near spaghetti junction that carries a lot of nice fixtures for bathrooms. They carry lots of high end fixtures and there is rarely even anybody in there looking around. It's off the beaten path.


The wall mounted sink was fairly easy to install. The Hansgrohe faucet came with the pop up drain and tail piece, which is important because a lot of manufacturers don't include them. The instructions were pretty clear and not hard to follow. It took about 30 minutes to connect the tailpiece and the pop up drain.

Hansgrohe faucet $150.


Tuesday, July 8, 2014

A Bit of Comparison


Sometimes when you get in the middle of a project its easy to forget the reason why you decided to tackle it in the first place. Thats why it's important to always document the before.

It's not hard to run out of steam sometimes doing renovation especially when things seem to always end up being more expensive than you had planned for.

Taking a step back and looking at the transformation is sometimes needed in case your focus seems to be wandering a bit.

Tuesday, July 1, 2014

Bath Update

Before RedGard
All of the backerboard and sheetrock is installed and it is time to waterproof the surround. The stuff called RedGard is what is available near me so I used it. It is really noxious.

It rolls on with a regular roller but its the consistency of, say, jelly. It's pretty thick. It looks like Pepto Bismol when you apply it and after it dries it turns red.

The hardest part was getting the old caulk off of the tub and it still isn't completely clean. Mineral spirits doesn't work, caulk remover doesn't work, WD-40 doesn't work. Really the only thing that takes it off is a scraper.

With the World Cup going on I haven't made very good progress on this project. It should have been done by now.

After RedGard


Saturday, June 28, 2014

Shower Valve

Kohler Rite Temp pressure balancing valve rough-in for the new shower. Since this valve is pressure balanced it won't scald anyone if a toilet is flushed while someone is in the shower. So when it senses a drop in pressure from the cold water it will balance the hot side to match the cold and therefore the water temperature doesn't change.

The dual knobs for hot and cold are out and now we are in the 21st century with just the single handle valve. It came from the factory pre-set to 105 degrees. I dialed it up slightly to 110.

$100 (valve only, trim is extra)


Tuesday, June 24, 2014

Shower stall and flooring


Most of the backerboard for the shower is up. Wonderboard is the stuff Home Depot sells. There are other brands as well.

The shower valve is on it's way. I need to plumb it in before I can finish installing all of the backerboard.

I had not used it before but it's fairly easy to work with alone since it's only 5' x 3' sheets. To cut it you simply score it like drywall.

There are screws made specifically for it and you don't have to worry about pops the way you would for drywall. I had to put a sheet of drywall behind the board on the back wall (back of tub) because there was a gap that needed to be filled in so that the rockboard would be over the tub flange.

The side against the wall was okay and I only needed to mount the board without any sheetrock. The only difference between the two is that the backer board needs more screws so the spacing is closer together than sheetrock. The joints get taped and mudded with mortar. After that there is a waterproofing product that is painted on over the board. After that the tile is set.

Cement backer board in place
The floor is done with the same product but the area gets covered with mortar first then screwed to the subfloor. The mfg recommended 1/4" for the floor and 7/16" for the walls. It's a small bath and two sheets covered the floor. The walls will require five sheets. It's around eleven dollars per sheet so not too expensive.

The amount of mortar that was on the original floor was much thicker than the new material and that leaves the toilet flange sitting too high. That will need to be adjusted lower soon. It turns out that the pipe is what's known as a lead bend. In other words, the pipe through the floor down to the cast iron is lead. It is "wiped" with lead solder to the brass toilet ring. I'm not looking forward to installing a new ring. Not too many people know how to work with lead anymore but I did find one guy on Youtube who has a video on it.
Bare sub-floor
The old subfloor was in fairly decent shape so the original tile job was very good keeping the floor pretty much dry for the last forty years! These new products haven't even been around that long to find out if they hold up that long hopefully this floor and shower stall will hold up for the next twenty years.


Monday, June 23, 2014

Landfill

Seminole Road Landfill, Dekalb County GA
It's nearly impossible to re-purpose the debris from a tile shower so it has to go to the landfill.

It's way down in South Dekalb county. If you are a resident you can take stuff there but it isn't free. They charge $33 per ton. They check your i.d. when you arrive.

There is a scale that you drive onto at the entrance and they weigh you again on the way out.

The debris from the shower weighed 1080 lbs. I paid about $18. A dumpster rents for over $300. A fairly long trip but for a small job it makes more sense than renting a dumpster.

Friday, June 20, 2014

Bathroom Demolition

Original bath

Demolishing the shower was not easy. The mortar bed that they installed in some places was over an inch thick. It was dry as a bone after 40 years. The tiler on this job did not get any call-backs I believe.

The amount of weight all of the mortar adds is incredible. The new materials will be a lot lighter.

There's at least one layer of wallpaper that's been painted over so all of the drywall has to go.

Behind the shower wall you can see the roof line of the first floor. (note the angled section). This wall gets really hot from the exterior. This will get another 2" of rigid foam insulation before the shower goes back in.

Sanitary waste and vent stack
I don't have the heart to smash the cast iron tub with a sledgehammer, so it stays.

That bundle of wires is heading down to the panel box. The new code doesn't allow any plumbing to be above any electrical.
Hot & cold water supplies


All the plumbing behind the walls is in good shape.

Tuesday, June 17, 2014

Bathroom Renovation

The seventies called...they want their bathroom back. They can have it.

This bathroom has been pretty grody since the day we moved in even after I re-caulked the tub and replaced the toy sink they had installed.
The floor is unlevel and there is a hole in the wall near the tub. It's pitiful.
Yesterday I bought some new tile and today I began the demolition.

I've yet to determine if the tub is cast iron or steel and though I would like to remove it I'm not sure it's going to be feasible.


I had always assumed that the existing tile was laid over another floor. Today I found out that the original tile was removed but the original mortar bed was left in place and then built up on top of it. The bathroom floor was alway higher than the hall floor. It's why it was so uneven and very heavy. There was so much weight that I believe the floor was sagging. It is very, very squeaky in the hall outside the bath.

Anyway, under the old mortar was the metal lath that was always used for tile floors back in the day. Apparently there are some who are still using this system, but no so much in the South. The subfloor isn't in too bad a condition for it's age though you can see there has been some moisture here and there.

It's been a while since I've remodeled a bathroom and these days there are way more products out there than there was back then. It's really a matter of who's technique you choose to go with. I'm still trying to decide.


Tuesday, June 10, 2014

Walnut threshold

The photo shows the 8/4 walnut stock that I used to make the threshold for the patio door. The piece on the right is the actual part that I fabricated from the larger stock on the left.

It's a fairly hard wood but not difficult to work at all. Not super hard like the exotics from Brazil or Africa. And it's domestic which I believe is a better way to go. Cost $70.

Walnut is a common wood for gun stocks. This is american walnut as opposed to black walnut which is denser and more expensive. It's more coveted as well.

The table saw was the only tool I needed to make the piece. It took about half a day to get everything ripped down and shaped. It is basically an L shaped piece.
Threshold profile

I used a mixture of 30% sparr urethane and 70% Teak oil to finish the piece. It came out very nice and so far is repelling the water very nicely. Nice vid here. Thanks Izzy!

There was an inch and quarter gap between the deck and the door sill that needed to be filled in. I found some pavers that fit perfectly in the space but I didn't have enough to do the job and I couldn't find any more of them anywhere. I was at The Stone Center looking for the pavers when the guy said he had a solid piece the right thickness.
Walnut threshold and sandstone sill

There was lots of sandstone that was the right thickness but none were long enough. I needed about 64" x 5" to fill the gap. I ended up getting about a 30" long piece that was 18" wide for $20. I had to buy a diamond blade for the circular saw to rip the stone down to 5" pieces.

I had not sawn stone before and it wasn't too difficult with the new blade. I wet the stone down every minute or two. The job went better than I anticipated. The weakest part is the joints where I used some colored mortar to join the pieces. I've never laid a brick in my life so I didn't have the slightest idea how to make the joint. It's alright though, maybe not perfect.
Solar powered lights

New door
The soffit is replaced the fascia is up, everything is caulked and painted now.

We also added an exterior flood light and an outlet that is solar powered as well.

Old window
It's good to be utilizing the door now. It's very convenient and beats walking through the garage to get to the deck. At night the glass allows the light from inside to illuminate the deck and so it helps out with the outside lighting as well.  It's very quiet as well. The music can be fairly loud inside and you do not hear anything thru the door whatsoever.

I'm very happy with it.

Wednesday, May 21, 2014

Solar

I have finally completed the PV/Battery Backup system. It's been in progress for sometime, but I wanted to wait until it was finished to mention it.

The two panels on the left are Suniva 250 watt each. I used Ironridge rails for mounting.

The panels are charging two 246 amp hour GS batteries. Huge batteries!

The charge controller is the 24v Xantrex C60. No bells and whistles but cost effective and reliable, so far.

I have a 300W Samlex inverter, which is mounted above ceiling in the attic.

When I pulled all of the sheetrock down in the dining room I dedicated one duplex outlet to the solar system. So instead of it being wired back to the breaker box like the others, I took it's wiring above ceiling into the garage and wired a plug to the end. It plugs into the inverter.

If there is a power failure, I can plug into the solar outlet inside the house.

On the right is the breaker box by Midnite solar which houses the guts of the system. In a future post I will go over all of the components in the box.

As of yet I haven't really put the system through it's paces. Just some small loads like charging cell phones and laptops. There is a motion activated floodlight on the back deck that is now wired into this system as well. The flood load is also small with two led bulbs and only a 5 minute time setting when it detects motion.
DC Breaker Box
Battery box w/ GS Batteries
On sunny days, now during late spring, the charger is topping up the batteries by noon usually. At some point I am planning on wiring in the lighting in the dining room onto this system which are 8 dimmable led's that run just a few hours per day, normally dimmed at night. It will be nice to have this lighting available in case of grid power going down.


Electrical enclosure with Xantrex charge controller in the picture above. On the right the battery box with the (2) GS246 wired in parallel for 24v.


Rip-off

You might ask why we go to all the trouble to add so many energy efficient products to the house. Well, when you are beholden to Georgia Power for your electrical service you've got to cut costs wherever you can because they certainly won't.

With the Nuclear Construction Cost Recovery fee that the Public Service Commision allowed we are pre-paying for Southern Company's new nuclear plants at Vogtle.

So our bills are up 6.5%, there are already cost overruns with the construction and we will certainly shoulder any additional costs in the future. The fee percentage goes up each year, so our bills will be higher again next year.

I thought more supply meant lower prices...


Tuesday, May 13, 2014

French Door


The door really gives the room a more spacious feel, which I wasn't really expecting. It swings out so it suppose to resist wind and being kicked in. Actually the more exterior pressure exerted the tighter it seals. Aesthetically it's really cool. Lots of light and the open quality of the room increased exponentially. It fits.

Integrity Wood Ultrex Outswing French Door by  Marvin, outswing double patio door, $2220, delivered.

Low E 272 w/Argon
SHGC .24
U Value - .30
VT - .40

Wednesday, May 7, 2014

Bye bye window!

Today our door from Marvin arrived. It will be an outswing french door that will replace the two double hung windows that are there now.

Before the deck was built this window was about six feet up. There was a small amount of demolition to do with the brick beneath the window.

An entry door will be an improvement from having to walk into the garage to access the deck. It will also be a thermal improvement over the two heinous single pane windows that leak air terribly and won't open and close anymore because someone painted them shut. Lovely!

Hole in the wall
I can always count on finding an example of shoddy workmanship every time I remove something and this time was no exception. When the hvac register was installed they cut all the way through the exterior gyp board as you can see on the left. They also hacked up the rim joist and sill.

So for the last 30 yrs hot and cold air has basically been venting to the exterior. Not that the gyp board provides much R value, but it's at least an air barrier. This probably means the registers on the other side of the room could be the same way. I demo'd this register and it's duct back to the y fitting and capped it off.

Cutting the brick turned out to be easier than I expected. I bought a 6" masonry cutting disc and installed it on my angle grinder. It made a lot of dust but wasn't real hard to grind thru the bricks at all. No water necessary. It only took about an hour to demo the entire section.